
[ad_1]
Photoshop Blur filters are designed primarily for retouching images—to soften, haze, cloud, fuzz, or distort specific areas of a picture or the entire image. Backgrounds are often blurred out to accentuate the main subject of a photo, or to reduce clutter in the environment. Blur filters also collect, then fuse the colors in a selected area to create a specific effect such as motion.
Blur effects explained
When you select Filter > Blur, Photoshop displays a dropdown menu with 11 Blur effects. They are defined as follows (and grouped by similarity):
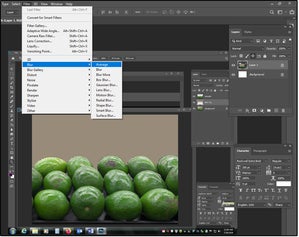
Average: Photoshop considers all the colors of a selected area, then calculates the average color of the combined hues, and fills the area with that color. Once the area is “averaged,” you can apply additional effects such as a soft gradient, a simple texture, or a modest pattern to create an uncluttered background that doesn’t “compete” with the main subject of the image.
 JD Sartain / IDG
01 Use the Photo shop Average filter to equalize and unclutter backgrounds.
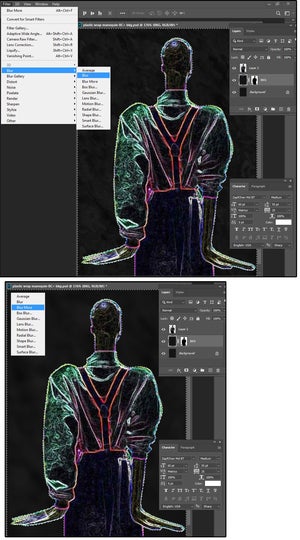
Blur: Use this filter to soften the jagged edges of an object you “cut out” (using the lasso or the pen tool) from a larger photo. It’s also very useful for reducing noise in a picture covered with dust particles, scratches, half-tone dots, or a Moiré pattern from a scanned page. This is an especially effective solution for an old wrinkled or scratched photo that’s been scanned.
Blur More: The same results as the Blur filter, only increased by four times the effect. The changes are subtle on both Blur and Blur More, so you may have to “Blur More” repeatedly to achieve the desired result.
 JD Sartain / IDG
02 Use the Photoshop Blur & Blur More filters to soften edges and smooth over image defects.
Box Blur & Gaussian Blur filters
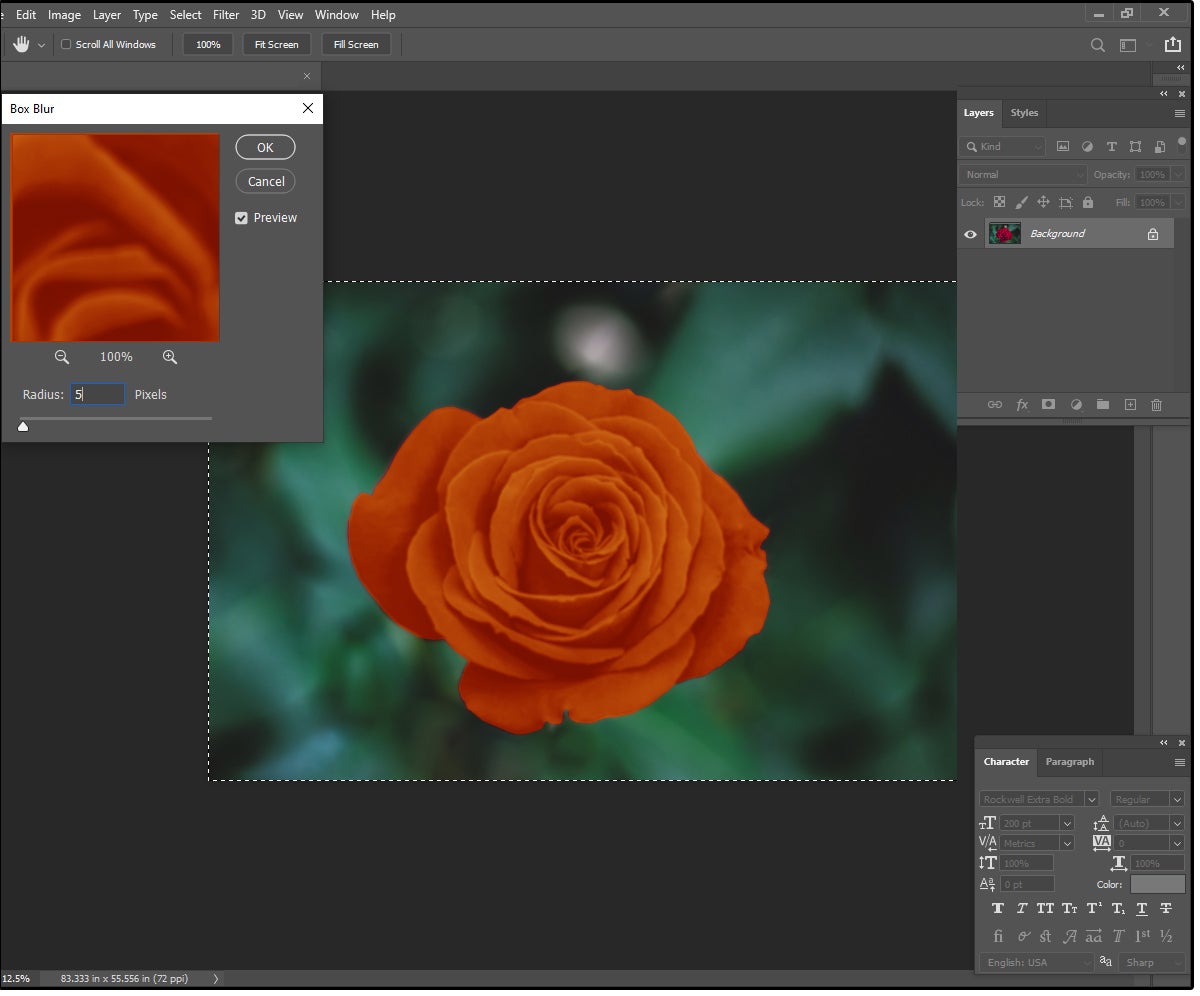
Box Blur: The Box Blur finds the edges of the objects in an image, then averages the colors of the pixels adjacent to the target objects to create a soft, silky blur effect. With contrasting colors, the Box Blur creates subtle, glowing edges between the objects or the objects and the background. Use this filter to soften the petals of a flower (see our coral rose in figure 03), while simultaneously enhancing the edges so the flower stands out against a busy background.
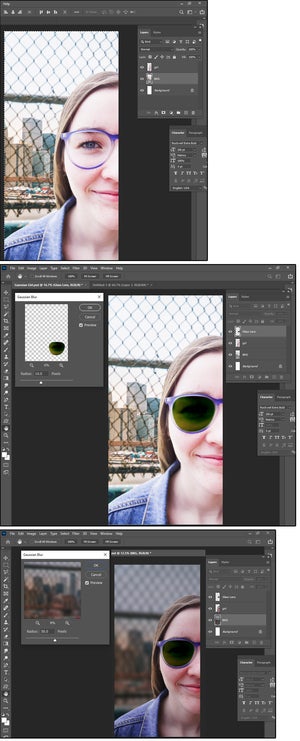
Gaussian Blur (or Gaussian distribution) seems to be the most popular. It uses a bell-shaped curve, which has its highest point in the center, then decreases on both sides (just like a bell) to blur the selected area of an image. It uses a sliding scale from 0.1 to 1000, which produces a wide range of results.
 JD Sartain / IDG
04 Photoshop’s Gaussian Blur is a popular choice.
Note that the edges of the selected area contain colors from the surrounding areas, which may produce a fuzzy or feathered outline. To avoid this remove (cut out) the surrounding area first, blur, then paste the surrounding area back into place (which will likely create a hard edge unless you slightly blur the edges of the cut-out area as well).
In our example (see figure 04), the client wanted to use a specific photo of a young girl, but he wanted the girl’s identity masked, and the background was a cluttered mess. First, we changed the Color Balance to make the glasses look like sunglasses.
We used the Gaussian Blur at a Radius of 10 to blur the eye with the glass lens. Next, we adjusted the Brightness/Contrast on the girl’s face to -100 and +40, respectively. And last, we adjusted the Brightness/Contrast of the glass lens to -80, +50, respectively.
For the busy background, we adjusted the Brightness to -150 and the Contrast to +10. Then we used the Gaussian Blur at a Radius of 50 to slightly blur the background enough to showcase the girl, but still maintain a hazy view of the city and the fence behind her. The client loved it!
 JD Sartain / IDG
03 Use Photoshop’s Box Blur to create a soft, silky effect with glowing edges.
Lens Blur filter & Motion Blur filter
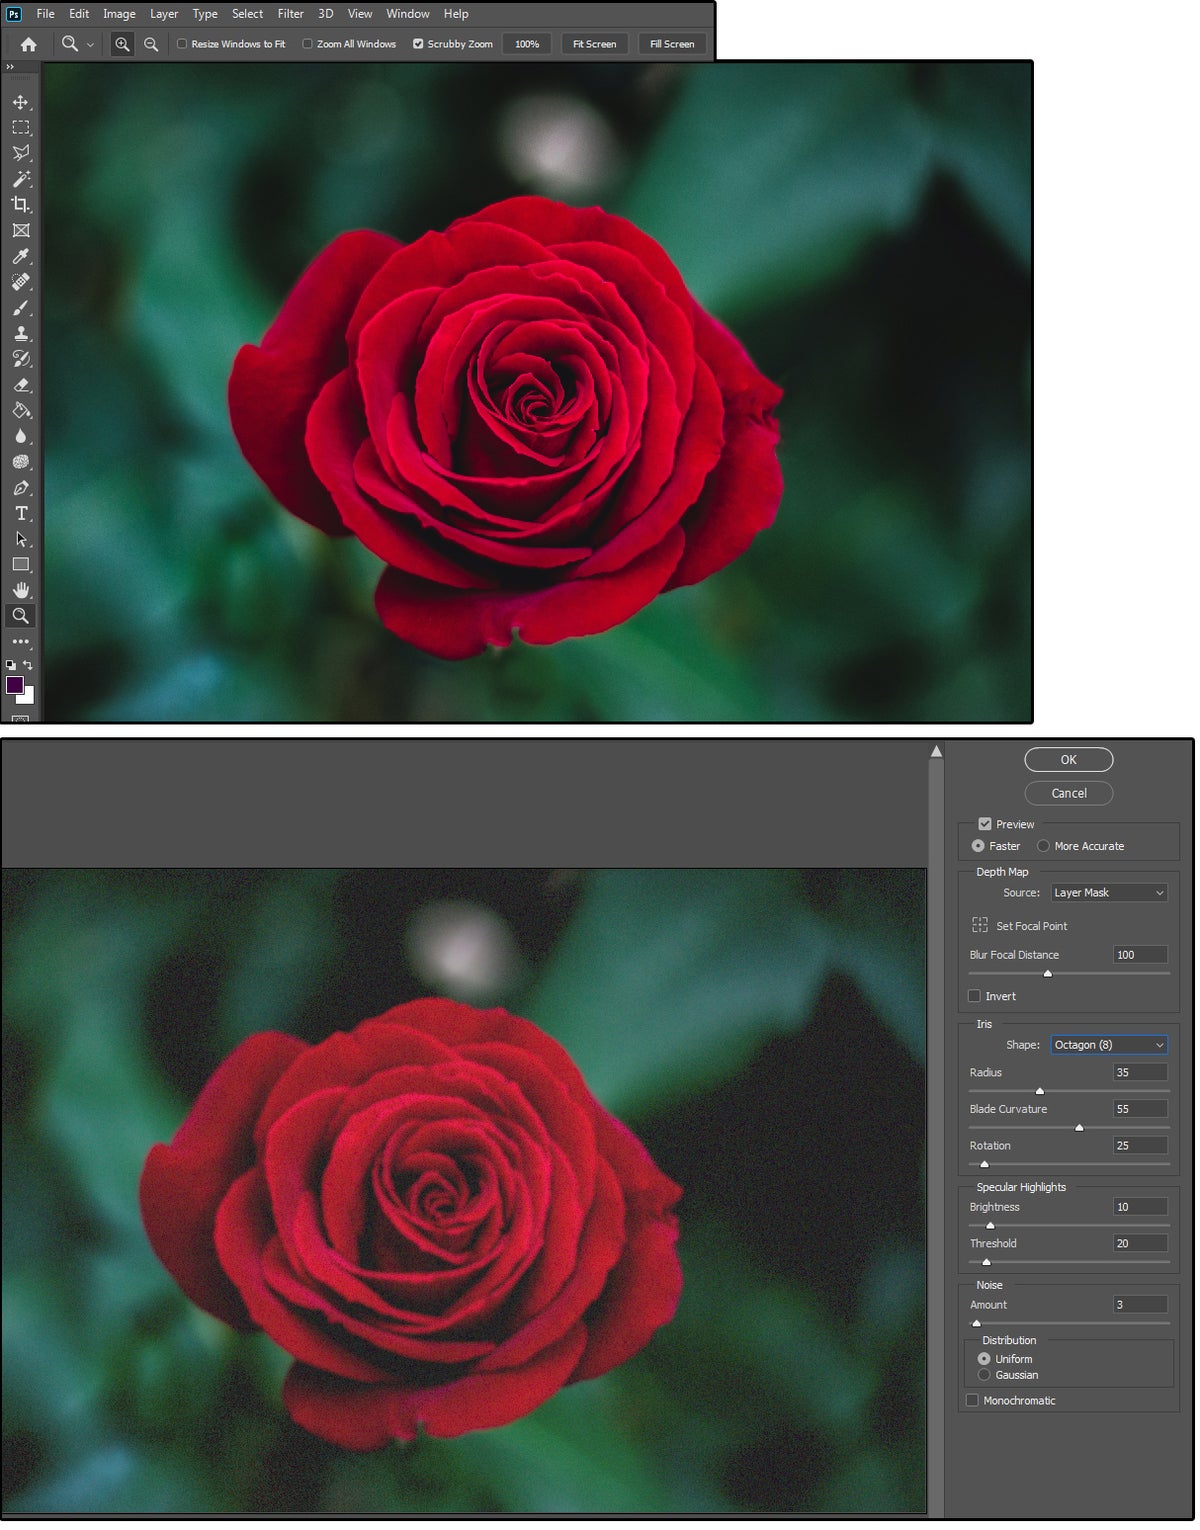
Lens Blur: Use this filter to adjust the depth of field on your photos—for example, to blur out a cluttered background or enhance a fuzzy background. This powerful filter provides 14 levels of adjustable effects, including six shapes and several depth map selections. You have greater control over the final results of your image because you can fine-tune so many effects.
Check out the red rose in figure 05. We set the Blur Focal Distance to 100. We used an Octagon shape with a Radius of 35, a Blade Curvature of 55, and a Rotation of 25. For the Highlights, we did Brightness 10 and Threshold 20. The Noise was set to 3 with Uniform Distribution. The beautiful red rose looks like velvet on a background of green sand.
 JD Sartain / IDG
05 Use the Lens Blur to adjust depth of field.
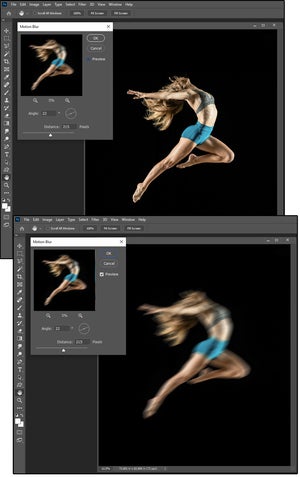
Motion Blur: The Motion Blur does exactly what you would expect—it creates the illusion of motion. When you photograph a moving target, you can “stop” the action with camera settings or set your shutter speed to 1/60th of a second (give or take), and shoot the subject “in motion.” With Photoshop, just use the Motion Blur filter. Settings include the angle of the motion (from zero to plus or minus 360 degrees) and the distance of the spreading pixels—that is, how far the image is stretched to emulate the movement.
 JD Sartain / IDG
06 Use the Motion Blur to create motion.
For our example, we used a dancer leaping through the air (see figure 06). We chose an angle of 22 degrees, so she would appear to be moving forward and up. For the distance, we chose 215 pixels, so she would be just blurred enough to replicate motion without reducing her image to blurred lines.
Radial Blur & Shape Blur filters
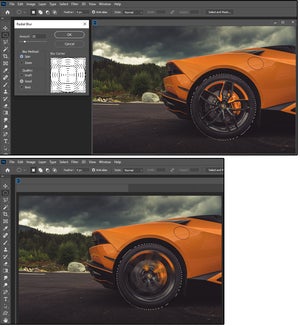
Radial Blur: The Radial Blur is used to create a circular distortion around an object, which can be targeted or applied to the entire image. Visualize the ripples in a pond around a dropped pebble. With this filter, you can adjust the Amount (or degree) of the blurring; the Method (Spin: along concentric circular lines or Zoom: along the radial lines); the Quality (Draft, Better, Best); and the option to set the Blur Center.
The most obvious use for the Radial Blur is with circular objects in motion such as the wheels on a tire. For our example, we used the elliptical marquee tool to select the tire on this sports car (figure 07). We chose “20” for the Radial radius, Spin (instead of Zoom) for the Blur Method, and “Good” for the Quality (as opposed to Draft or Best). Now the car appears to be moving fast because of the spinning tires.
 JD Sartain / IDG
07 The Radial Blur creates “ripples” in a circular motion on your images.
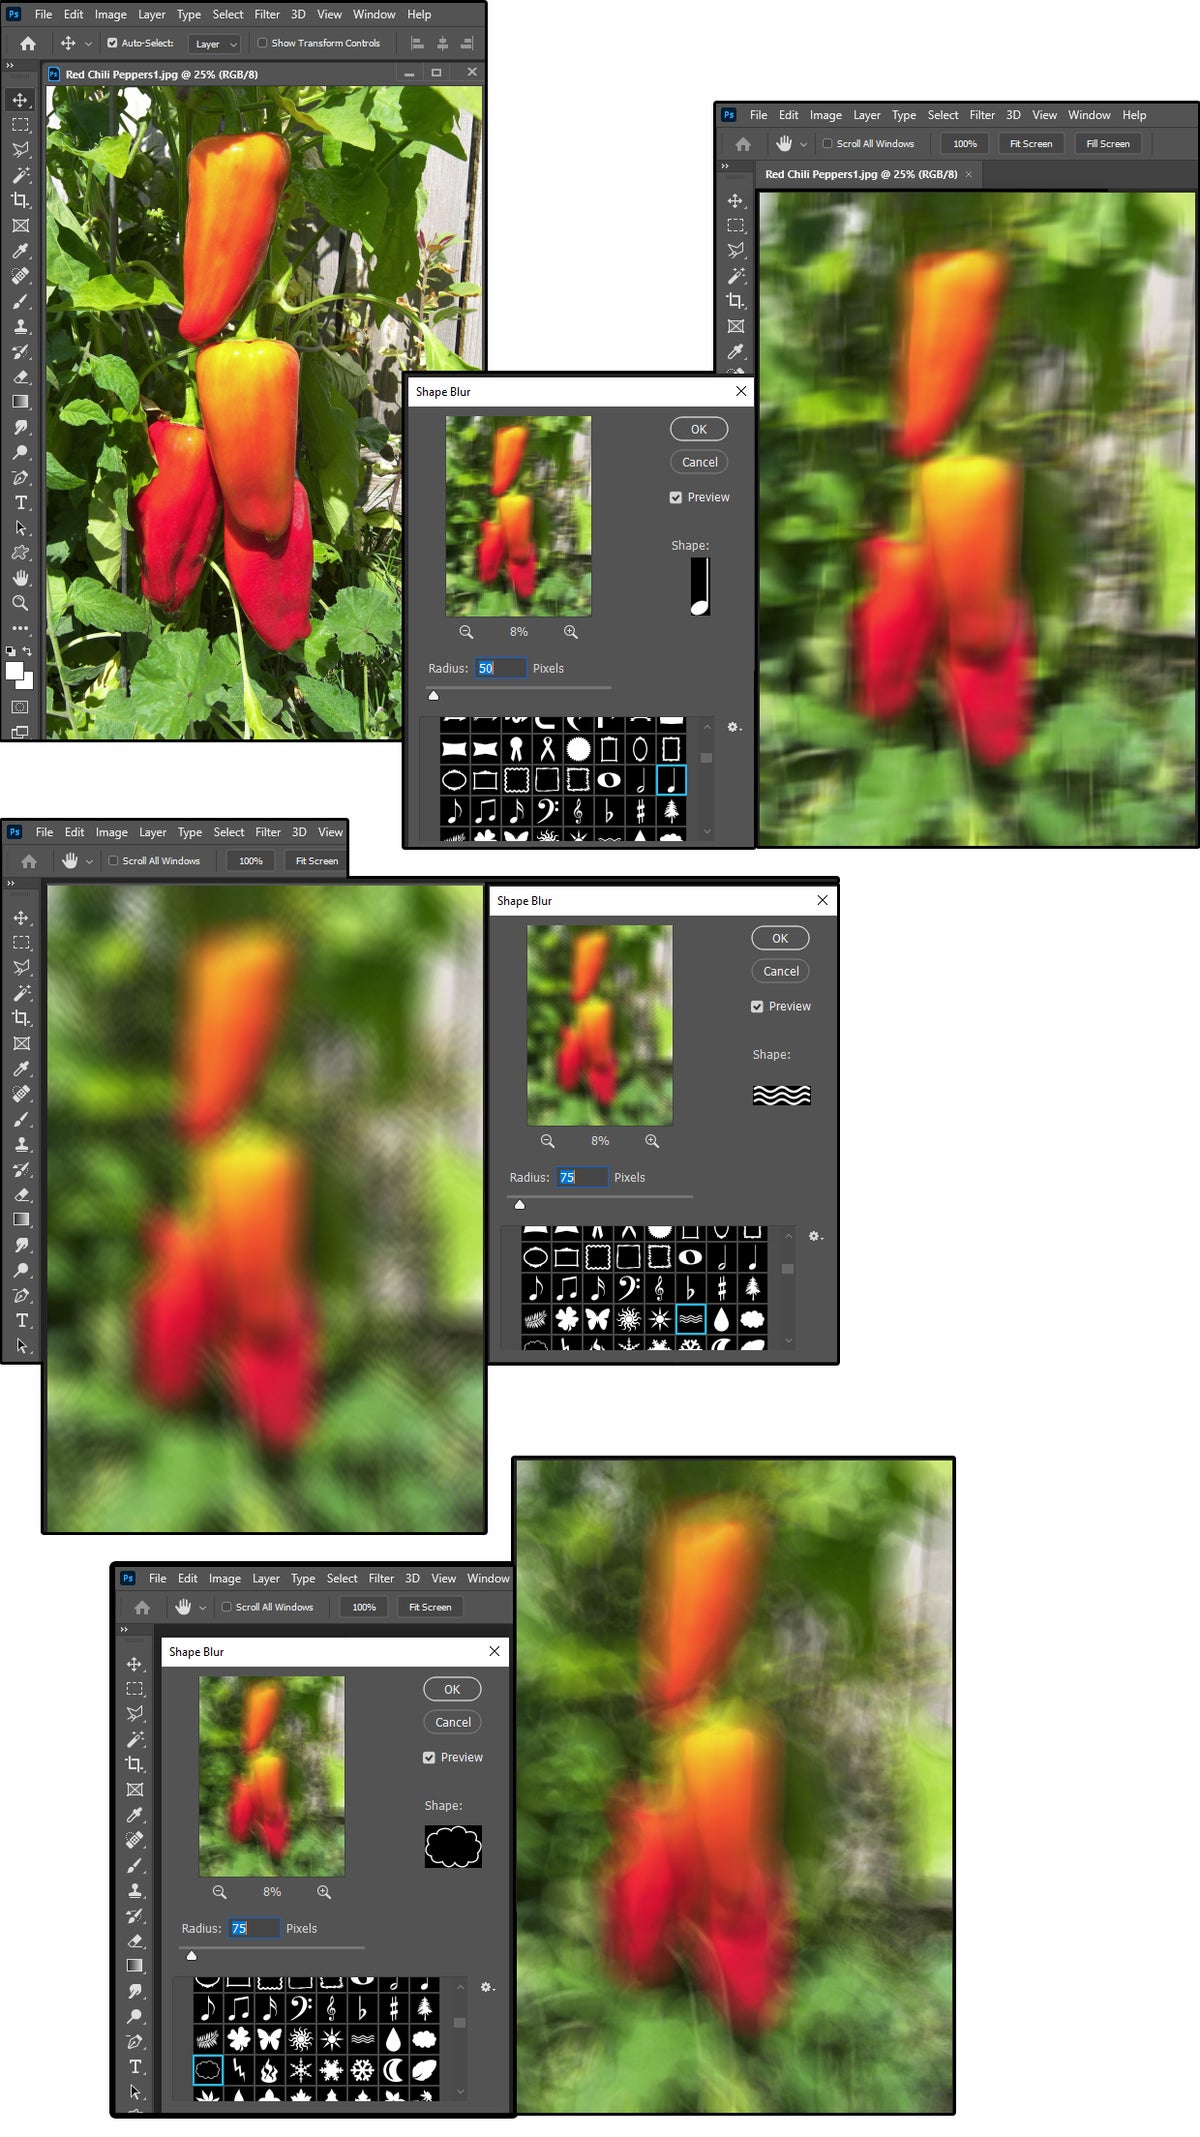
Shape Blur: This effect uses something called an image kernel, which is basically a two-dimensional matrix of pixels, where each pixel is represented by a number. Based on the image mode (RGB, CMYK, Grayscale, etc.) and the bits per channel (8, 16, 32, etc.), the kernel uses these values to build a new image. Choose your kernel from the Shape presets installed on your system, then select a radius value (from 5 to 1000) to blur your image into a shape that loosely matches the preset you selected.
We experimented with several Shape presets to see what this Blur effect produced. We started with some red chili peppers growing in my garden. We selected the entire image, then chose a music note as the Shape preset with a Radius of 50 pixels. The effect showed vertical lines echoing the stem of the music note throughout the image.
Next, we chose wavy lines with a Radius of 75 pixels. The result was like looking through a cut-glass vase or a crosshatched surface, similar to the crosshatch brush in Photoshop’s Brush Strokes Filter Gallery.
Last, we selected the hollow cloud preset with a Radius of 75 pixels, which produced semi-circular blur patterns similar to a beehive across the surface of the peppers image. The result was a soft, dreamy effect that induced a sleepy response.
 JD Sartain / IDG
08 Photoshop’s Shape Blur uses Shape presets to create cool effects.
Smart Blur & Surface Blur filters
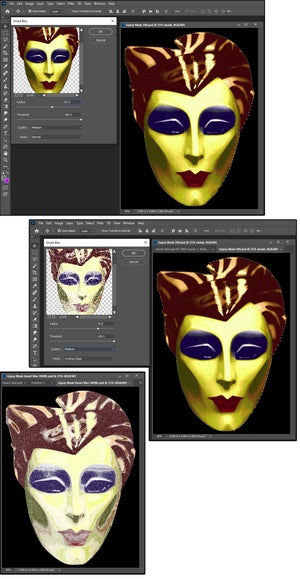
Smart Blur: This filter uses meticulous accuracy based on dissimilar pixels, which includes specifying a Radius or area size (0.1 to 100); choosing a Threshold (0.1 to 100); and selecting blur quality (low, medium, high) or the blur Mode. The modes include Normal (for the whole image), Edge Only and Overlay Edge (for the color transitions, such as black-and-white edges or white only), respectively, to blur images.
 JD Sartain / IDG
09 Use the Smart Blur to achieve an effect that looks like fading pixels.
For our sample, we chose a bright, almost fluorescent-colored mask. The challenge was to make this image look like it was airbrushed through a screen, to give it that rough, sandpaper appearance. To achieve this, we selected a Smart Blur Radius of 75 with a Threshold of 100. Then we chose Medium Quality and an Overlay Edge. The final product yielded a spooky, mysterious mask straight out of the Voodoo Queen’s closet.
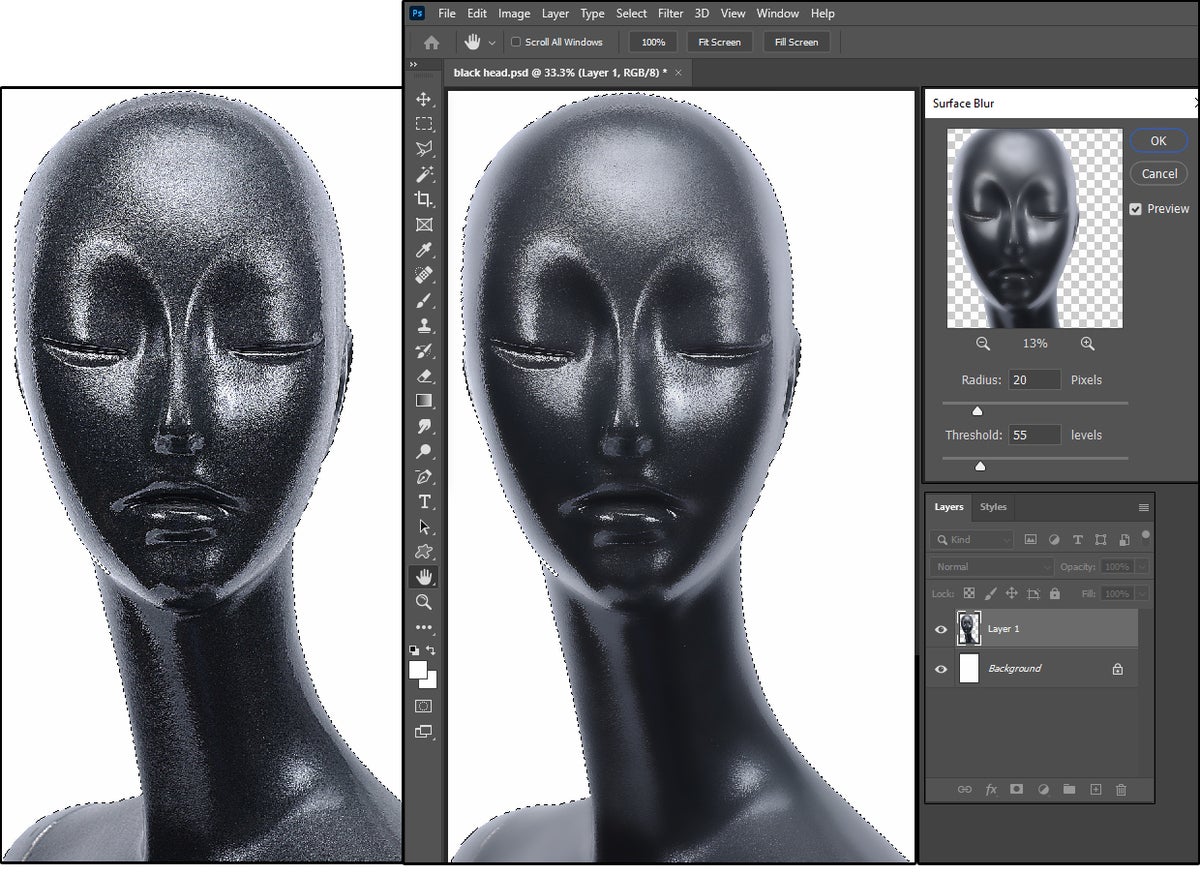
Surface Blur: Unlike the Smart Blur, this filter maintains the edges while reducing and smoothing out the noise or graininess. The Radius determines the area size (1 to 100). The Threshold regulates the tonal values of the adjacent pixels (2 to 255) and determines how much they must deviate from the center pixel value in order to be included in the blur effect–or not, if the tonal values are less than the Threshold value.
Our mannequin is made of spray-painted Styrofoam, so the texture is rough and grainy like coarse sandpaper. We were tasked with smoothing her skin, so she looked more like a black porcelain doll. We used the Surface Blur Radius of 20 pixels and a Threshold with 55 levels to give her a silkier complexion that looked more like skin. The client said we succeeded.
 JD Sartain / IDG
10 The Surface Blur can smooth out even the roughest surfaces.
There really is no right or wrong way to apply blurring effects. The best advice I can offer is to experiment with the 11 different styles until you find one that works for you or your client.
IMPORTANT NOTE: Use the Text tool in Photoshop to make notes on the settings you applied to each Blur filter. Save the files into a “Filter” folder so you can revisit them later when another, similar assignment comes up.
[ad_2]
Source link